Our patients photos are digitally watermarked with “OC MedDerm”. Our images are copyrighten and it is illegal be used without our written prior authorization
Inquiry Now Call us Today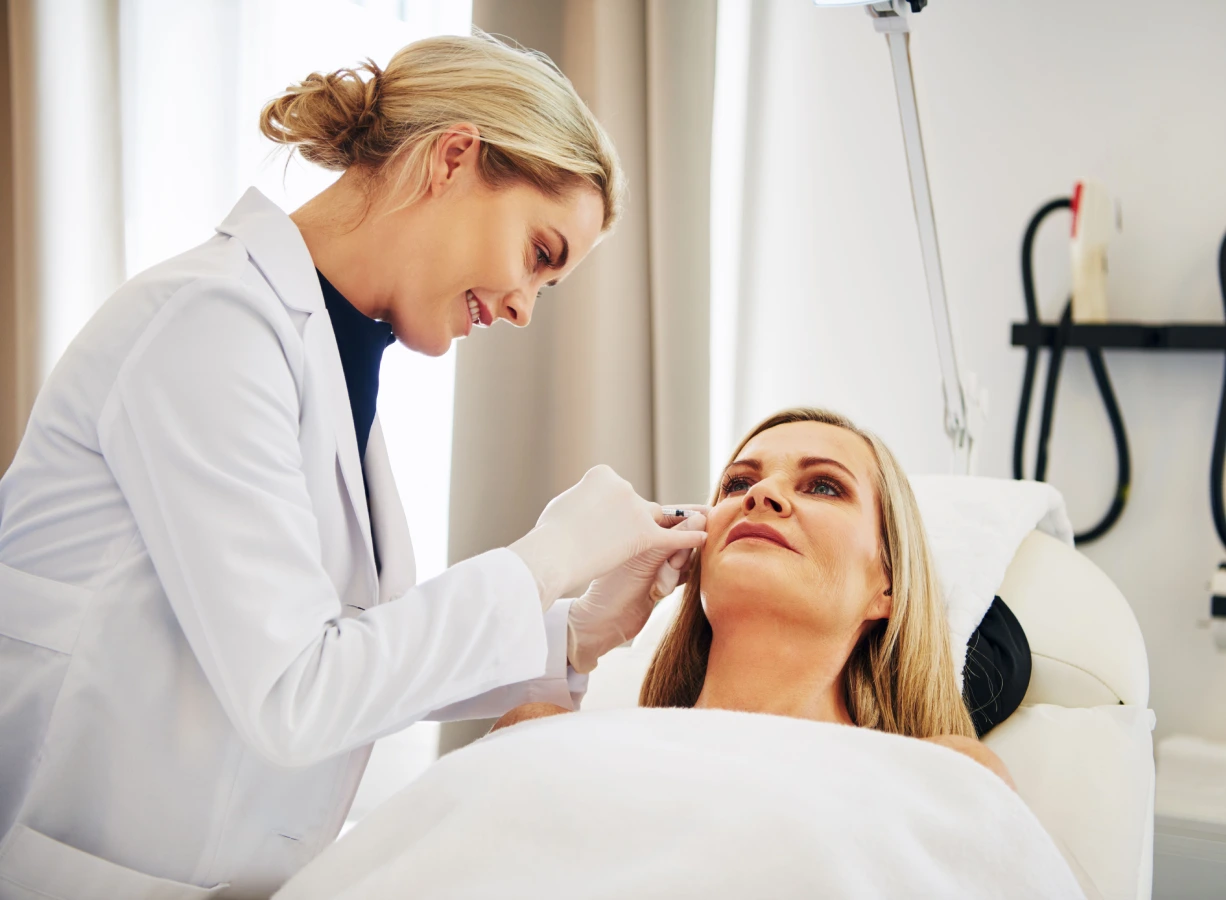
The following information and skin care is crucial to alleviate immediate post procedure symptoms as well as possible treatment related complications. For many, the downtime of the procedure can be quite minimal, especially if a less invasive treatment was performed. Therefore, not all the following instructions may apply to your case. We are always available for you to call if you need any clarification or questions.
If you have any questions and concerns during office hours, please call us for advice. For after hours questions and concerns you may text Dr. Shafa at (949) 426 – 7744
Healing phase may vary depending on many factors that include the following:
Right after the procedure, a thick layer of Aquaphor healing ointment will be applied to your skin. If you are comfortable, do not touch your skin until the next day. No showering the day of the procedure either. If you feel irritation, swelling and /or discomfort in the treated area, then you may use a cold compress for 5-10 minutes every few hours. In-between the cold compresses, keep the skin moist by reapplying Aquaphor-healing ointment.
Hydrocortisone 1% ointment: You may be instructed to apply HC 1% twice a day for the first 4 days after the procedure to control the skin inflammation and diminish risk of hyperpigmentation after the procedure.
Cold compresses: In a bowl with 2 cups of water and ice cubes (if available, add two spoonfuls of white vinegar in every 12 ounces of water), soak either washcloths, gauze, or paper towels and then leave the saturated cloth over the treated area. When it becomes warm, change it to another cold cloth if needed. Repeat the vinegar soak after washing your face, up to 5 times per day. Between cold compresses, reapply healing ointment. Keep the washcloth sanitary by changing or washing it frequently. Please avoid any healing ointment in your eyes during cold compresses.
Days #1 up to 4 after the procedure, your skin will undergo a “red” healing phase (i.e. pink skin). Swelling is expected on the second and third day and will subside thereafter. You may experience slight stinging, itching, or tightness in your skin, but these side effects are usually mild. During this healing phase, follow the instructions below.
Keep the skin moist (not wet) and “greasy” all the time by reapplying healing ointment such as Aquaphor or Vaseline. Remember if injured skin is kept well covered with healing ointment, repair and healing cascade starts immediately after procedure with less risk of complications otherwise skin must generate a scab followed by repair which delays the healing phase with increased risks and suboptimal results.
Keep the skin clean by washing the treated area with a cleanser. Starting the day after the procedure, you may take a shower twice a day, every morning and evening. Rinse the treated area with lukewarm water and gentle cleanser such as Cetaphil cleanser to wash off the excess ointment and oozing liquid, if present. Avoid hot water showers. You may wash your face up to 5 times per day with water and a gentle cleanser if you desire and feel that it is needed, but we encourage not washing the face so often.
Prevent infection: by adding vinegar to cold compresses and keeping the environment clean and sanitary. Remember not to touch your skin before washing your hands with water and soap for 20 seconds.
Control skin swelling and irritation with cold compresses. You should not feel pain during the post procedure phase. However, swelling is expected, and you may experience mild itching, stinging, numbness, irritation or discomfort. Control the above symptoms by using cold compresses on the treated area for 10 minutes and repeat as needed. Sleeping with an elevated head (use two pillows) will also diminish the swelling.
Nature’s Band-Aid: A small amount of yellowish liquid, which can ooze with or without small amounts of blood, at the site of the skin puncture is normal. In fact, it is a part of the healing process. The serum and platelets in the blood have antibodies that prevent infections, promote growth factors to repair and heal the wound, and create a physical protectant for the wound. Later, this natural wound cover will change to a brown scab. Do not peel off the scabs! Your skin will eject it when it is ready.
Do not rub your healing, inflamed skin. When you wash and rinse your skin, use the towel to blot dry-do not rub the skin! Doing so removes the “natural Band-Aid” before the wound is healed.
Avoid fever blisters. Herpes virus, the cause of fever blisters, is dormant in the body of many healthy people, especially individuals with a history of fever blisters. Any stress to the body and skin such as surgery, peel, laser, etc. can cause a flare and outbreak of the dormant fever blister. The good news is that you can prevent such an incident by taking Valtrex (antiviral) one day before and a few days after the procedure. Make sure you receive this prescription prior to the procedure.
Infection treatment: In general, we do not give antibiotics to prevent bacterial infection of the skin. The skin is covered with natural bacteria that cannot penetrate the intact skin. When the skin barrier is broken, infection becomes possible. You can diminish the residual skin bacteria by using vinegar soaks and providing a sanitary environment.
Furthermore, keeping the skin moist allows the natural protective cells of the body to migrate through moist skin and destroy any invading bacteria. In rare cases, if signs of infection appear, such as pain, increased redness, swelling, or pus, you may need a prescription for oral or topical antibiotics to treat the infection for a few days.
Itching control: Itching is a part of new skin formation and is also caused by dry skin. Do not scratch your skin. Keeping the treated area covered with healing ointment at all times diminishes itching. You may also control the itching by using cold compresses with gentle pressure into skin. If that is not enough, you may take any oral antihistamines available to you such as Zyrtec 10 mg, Allegra 180 mg or Claritin 10 mg up to 3 times a day as needed for itching. You may add Benadryl (25 mg ½ tab, up to 2 tabs) as needed at bedtime (unless you have another medical contraindication to take oral antihistamines)
Exercise: Vigorous exercise, irritation, and sweating can slow down the healing of the skin. We recommend refraining from exercise for the first few days after the procedure; you may start moderate exercise when your skin is peeling and return back to your regular routine the second week after resurfacing procedure.
Pain control: Pain is not expected during the healing phase, but the treated area may feel like a sunburn. If you feel some discomfort and you desire to take pain pills, you may take Tylenol (up to 3000 mg per 24 hours) unless you have another medical contraindication for Tylenol.
Avoid using any blood thinning medication: Medications such as NSAIDs (Aspirin, Aleve, Advil) or supplements such as Ginkgo, Garlic, Ginseng, and Vitamin E increases risk of bruising after procedure and must be avoided one week prior and 48 hours after ablative procedures.
Diet: Stay well hydrated during the healing phase. Make sure to eat a healthy, balanced diet. Avoid taking supplements with blood thinning features.
Scabbing and Peeling: This is the stage when your skin starts scabbing. During this phase, you want to keep the fine crusts and scabs clean and soft. You may do so by regularly cleaning the skin with water and cleanser, followed by applying healing ointment. Do not let the scabs dry out. You may gently wash off the dead skin and residual healing ointment gradually as dead layers of the skin come off. Do not peel or scrub off the crusts and scabs forcefully; this can leave scars. Cold compresses may not be needed any longer, although it can be continued if you desire.
The new skin: After any skin resurfacing, new rejuvenated skin will initially look red and, later, pink since the discolored old damaged skin is replaced with new rejuvenated skin. When all the crusts and scabs peel off, a new, fresh layer of skin appears. The new skin is very sensitive to irritants such as the sun, wind, and chemical irritants, so it must be treated with special care.
Start using moisturizing cream: (Stop use of greasy healing ointment) Keeping the skin moist and well hydrated with a moisturizer, such as cetaphil or Vanicream, will help the skin continue with regeneration. Use it several times a day.
Now, you can use makeup. The pink skin will eventually resolve and is generally easily covered with makeup. Preferably, stay indoors and avoid use of make up if possible.
Protect your new skin by using sunscreen. Keeping the sun off your face is very important for proper healing and preventing discoloration after ablative/invasive skin procedures. Avoid direct sun exposure for weeks after the procedure. The fresh, red skin is extremely sensitive. Use fragrance-free sunblocks, sunglasses, and a wide brimmed hat if outside or riding in a car. Remember that the effects of sunblock only last for 2 hours; don’t forget to reapply sunblock if you are exposed to the sun repeatedly.
Driving: Ablative resurfacing of the face such as fractional CO2 laser or deep chemical peel should not prohibit you from driving though we encourage you to strictly avoid sun exposure within the first few days. If you had a CO2 laser or TCA peel for the wrinkles around the eyes, you may notice increased sensitivity to light and wind, tearing, and possibly blurry vision for 1-2 days after the procedure. If you have significant swelling around your eyes or blurry vision, you must avoid driving until you feel comfortable with your vision. Using sunglasses is encouraged because it helps with light and wind sensitivity, as well as protects the skin from sun exposure and potential skin discoloration. Wait one week before wearing contact lenses again.
This stage may or may not exist for most patients, but if it does happen, it is temporary. You must continue following a careful skin regimen to achieve the ultimate desired skin resurfacing results.
Pink discoloration: People with red hair and light color eyes are at risk of having pink skin weeks to months after the procedure. Pink skin can be camouflaged with makeup and must be protected with sunblock at all times.
Brown discoloration:Avoid and treat hyperpigmentation after procedure: People with darker skin, including olive skin, are at higher risk of discoloration weeks after the procedures called PIH (post inflammatory hyperpigmentation). Sun exposure and any irritation to the skin, like hot or cold air, and bright overhead light, can contribute to hyperpigmentation. This is only temporary, and it is reversible with appropriate after care. You can camouflage the discoloration by using makeup that is one to two shades darker than your skin. Revlon-erase may be considered for hard to cover areas.
Avoid and treat hyperpigmentation after procedure: About 30% of patients will experience hyperpigmentation after skin resurfacing. To avoid and treat this, we may advise you to use bleaching cream such as hydroquinone twice a day starting weeks (4 – 6 wks) prior to the procedure, use hydrocortisone cream twice a day for the first 4 days after the procedure and resume bleaching cream the second and third week after.
Injured skin continues to repair and remodel up to one year after the procedure. Results depend on a case-by-case basis, and no two people are alike. Feel free to share your concerns and questions with us so we can tailor the advice to your specific case.
Follow up: See us for a follow up 2 days after the procedure, then 2 weeks, and 6 weeks thereafter. A follow-up visit is provided as a courtesy at no charge.
In case of urgent questions or If you have any concerns during office hours, please call us for advice. For after hours issues, you may text Dr. Shafa at (949) 426 – 7744 She will return your text as soon as possible.
Other Treatments
CO2 Laser Resurfacing Overview | CO2 Laser Skin Rejuvenation | CO2 Laser for Acne Scar Removal | CO2 Laser Gallery
Book a consultation at OC Medderm | Irvineskin Today for Medical, Surgical, and Cosmetic Dermatology in Irvine & Orange County, CA.
We are experts in Acne, Pinch blepharoplasty, Ear lobe repair, Xanthelasma repair, Syringomas removal, mole removal, Keloid removal, Body and face piecing or piercing repair or removal, lump and bumps removal, Acne scar removal, Spider vein treatment, fungal infection, Co2 resurfacing, Warts and more.
You can schedule an appointment or call us now for all the dermatology treatments. We are located at 113 Waterworks Way 100, Irvine, Orange County CA, We Are Dedicated to Providing the Best & Transparent Dermatology Care for your skin.
Call us when you want!